Taping to correct posture
This is an excerpt from A Practical Guide to Kinesiology Taping for Injury Prevention and Common Medical Conditions-3rd Edition by John Gibbons.
One of the questions patients and athletes regularly ask me is ‘What do you think of my posture?’ or ‘Is my posture bad?’
The following are three techniques I would personally recommend, as they have been very effective when implemented at my clinic in Oxford.
Technique 1
This technique is probably the easiest option and potentially the most effective as I have found that the simple approach is sometimes the best approach.
- The patient is sitting and they are asked to retract their shoulders slightly to activate their rhomboids. The therapist splits the tape in the middle and peels some of the tape back and then applies the Big Daddy tape to the centre of the patient’s back. The therapist locks the centre of the tape and then increases the tension to 75% and lays it down across the scapula, as shown in Figure 6.10.
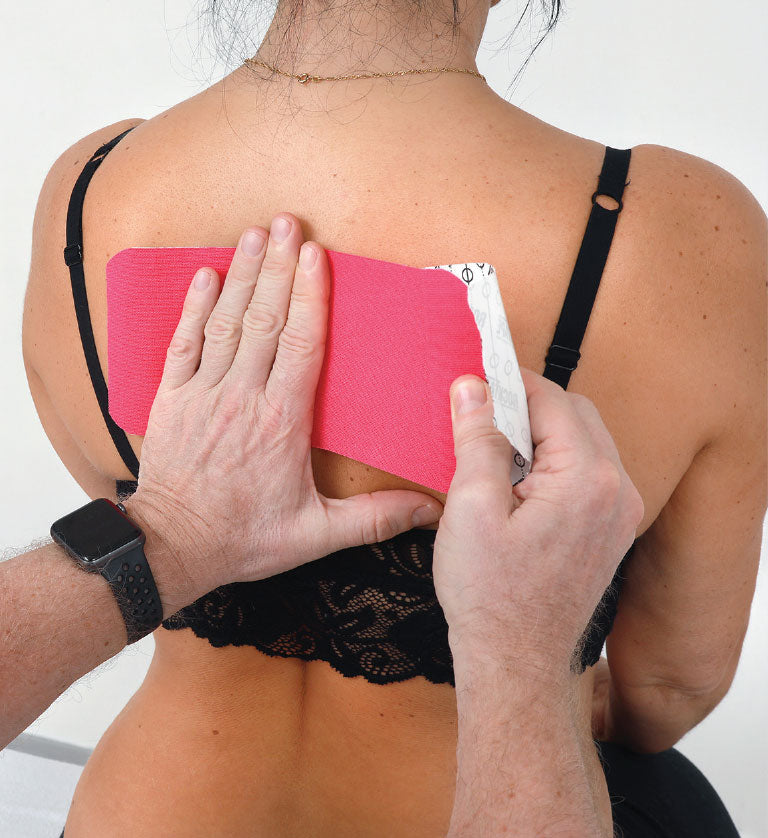
Figure 6.10 Therapist applies the Big Daddy tape across one scapula.
- Next, the therapist locks the centre of the tape and then increases the tension to 75% and lays it down across the other scapula, as shown in Figure 6.11 (a and b).
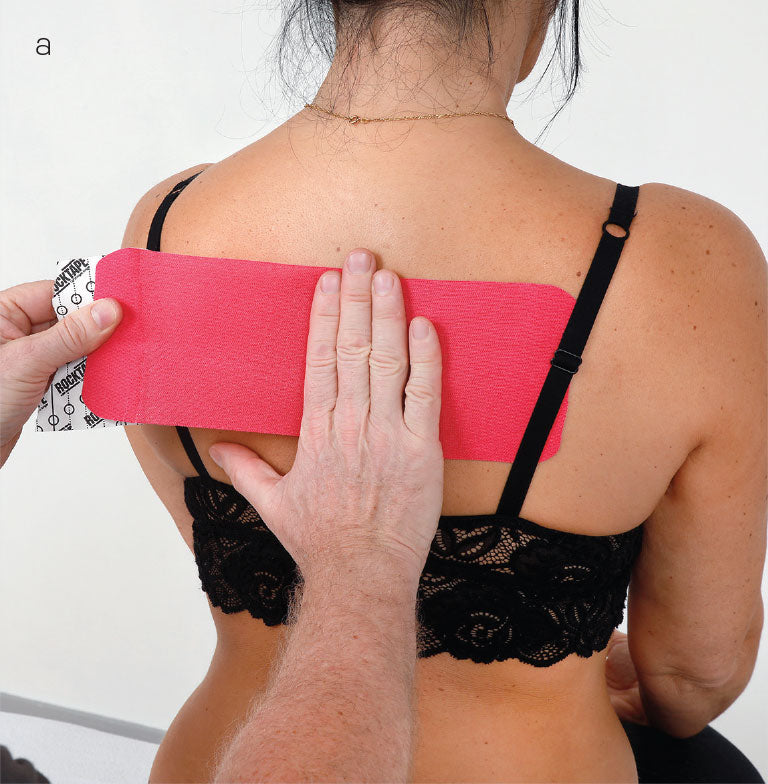
Figure 6.11 a: Therapist applies the Big Daddy tape across the other scapula with 75% tension. 
Figure 6.11 b: Finished technique.
- Heat activate the glue.
Technique 2
The following technique is a continuation of the above. You have a choice: apply the following tape in conjunction with the Big Daddy (above) or, if you prefer, you can use the two postural strips without the larger central tape. I decide by what my patients say to me; if they feel they need more stability then I will use both techniques.
- The therapist cuts two longer ‘I’ strips and applies the first one from the supraclavicular fossa (above the clavicle). The patient is asked to pull their shoulders back and down to promote a better posture. The therapist then increases the tension to 75% and lays it down towards their lower back, as shown in Figure 6.12.
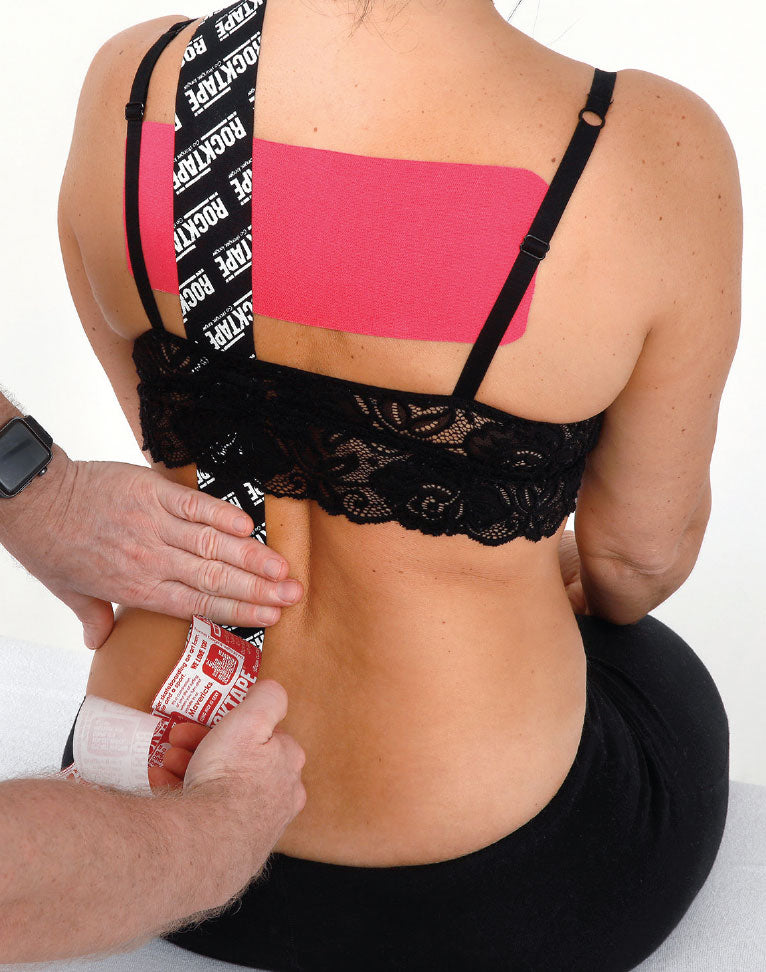
Figure 6.12 Therapist applies the postural strip towards the lumbar spine with 75% tension.
- Next, the therapist applies the tape to the opposite supraclavicular fossa and repeats the same process, as shown in Figure 6.13 (a and b).
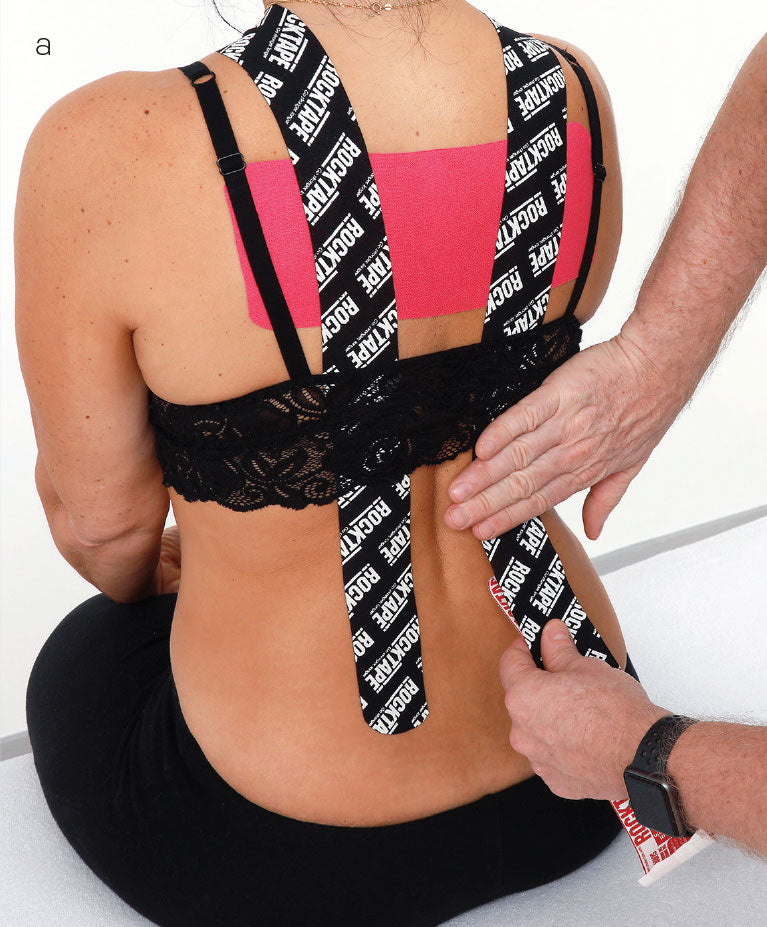
Figure 6.13 a: Therapist applies the postural strip towards the lumbar spine with 75% tension. 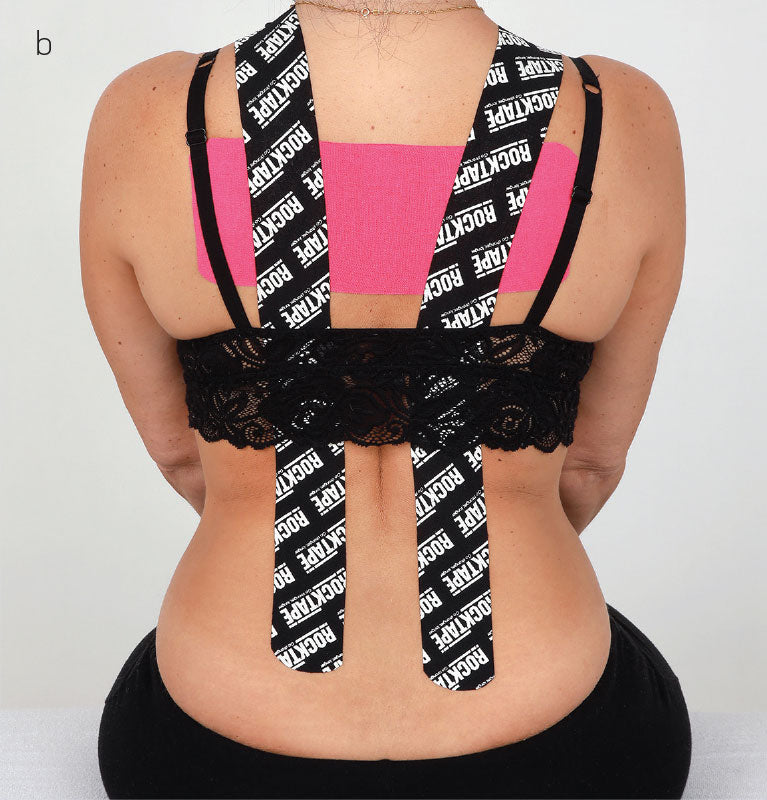
Figure 6.13 b: Finished technique.
- Heat activate the glue.
Technique 3
The following technique is an alternative to the above. Some patients prefer this method because some of the postural braces you can purchase have a crossing effect.
- The therapist cuts two longer ‘I’ strips and applies the first one from the supraclavicular fossa (above the clavicle). The patient is asked to pull their shoulders back and down to promote a better posture. The therapist increases the tension to 75% and lays it down across the middle part of their back and towards the opposite lumbar spine. The same is repeated on the other side, as shown in Figure 6.14.
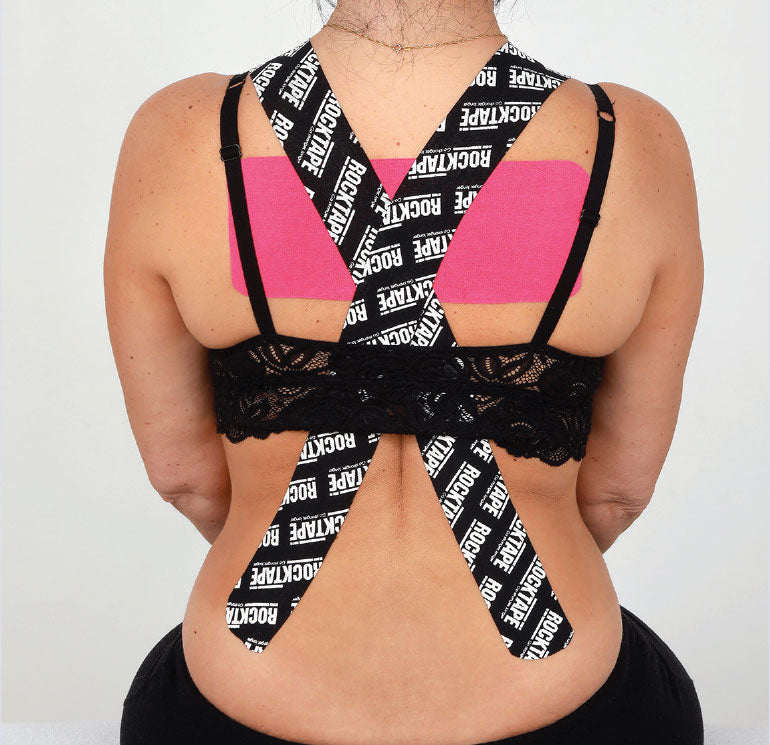
Figure 6.14 Therapist applies the postural strip towards the opposite lumbar spine with 75% tension.
- Heat activate the glue.
SHOP

Get the latest insights with regular newsletters, plus periodic product information and special insider offers.
JOIN NOW