


Deer Pose: Spinal Lengthening
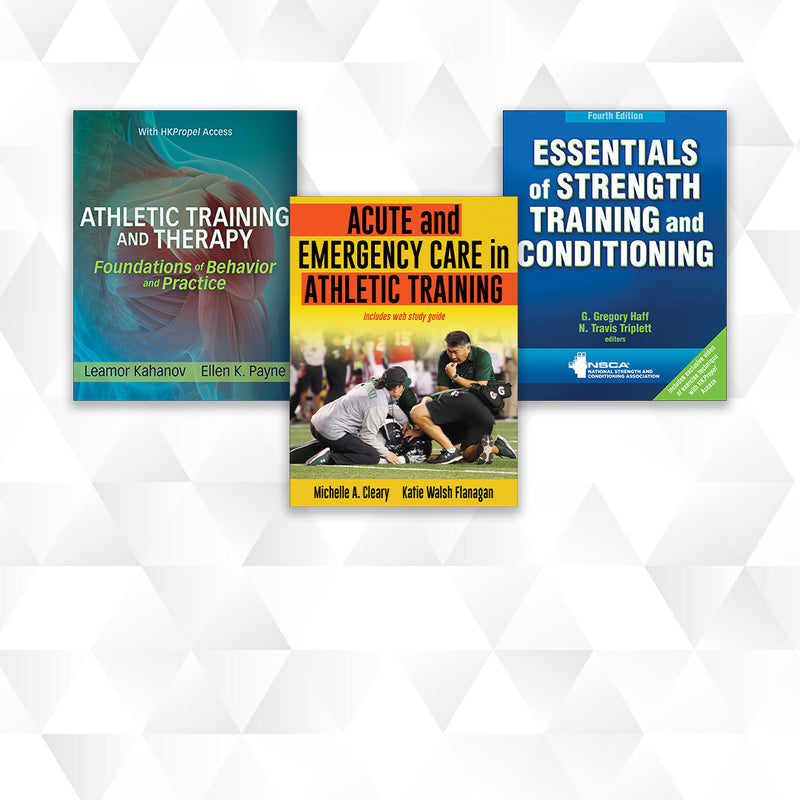
This is an excerpt from Hands-On Yoga Assists by Kiara Armstrong.STUDENT ALIGNMENTMrigasana: Deer PoseThe legs are either scissored or stacked one on top of the other.The torso is fully supported...


Managing Sport Facilities 5th Edition With HKPropel Access

Science of Long-Term Weight Loss, The

Motor Learning and Performance 7th Edition With HKPropel Access

Understanding Fascia, Tensegrity, and Myofascial Trigger Points


Practical Fueling for Endurance Athletes

NIAAA's Guide to Interscholastic Athletic Administration-2nd Edition

Soft Tissue Release, 4th Edition

Complete Guide to Landmine Training


Motivating People to Be Physically Active-3rd Edition

Strength Training for Lacrosse

ABLE Bodies Balance Training 2nd Edition With HKPropel Access

Concise Book of the Moving Body-2nd Edition, The


Aquatic Fitness Professional Manual-8th Edition

Organization and Administration of Physical Education 2nd Edition With HKPropel Access

Foundations of Physical Activity and Public Health 3rd Edition With HKPropel Access

Essentials of Teaching Health Education 3rd Edition With HKPropel Access, The


First-time newsletter subscribers receive $15 off your next order of $30 or more